Tag: makeup

  • How to Choose the Right Foundation for Your Skin Type and Achieve a Flawless Finish

    How to Choose the Right Foundation for Your Skin Type and Achieve a Flawless Finish

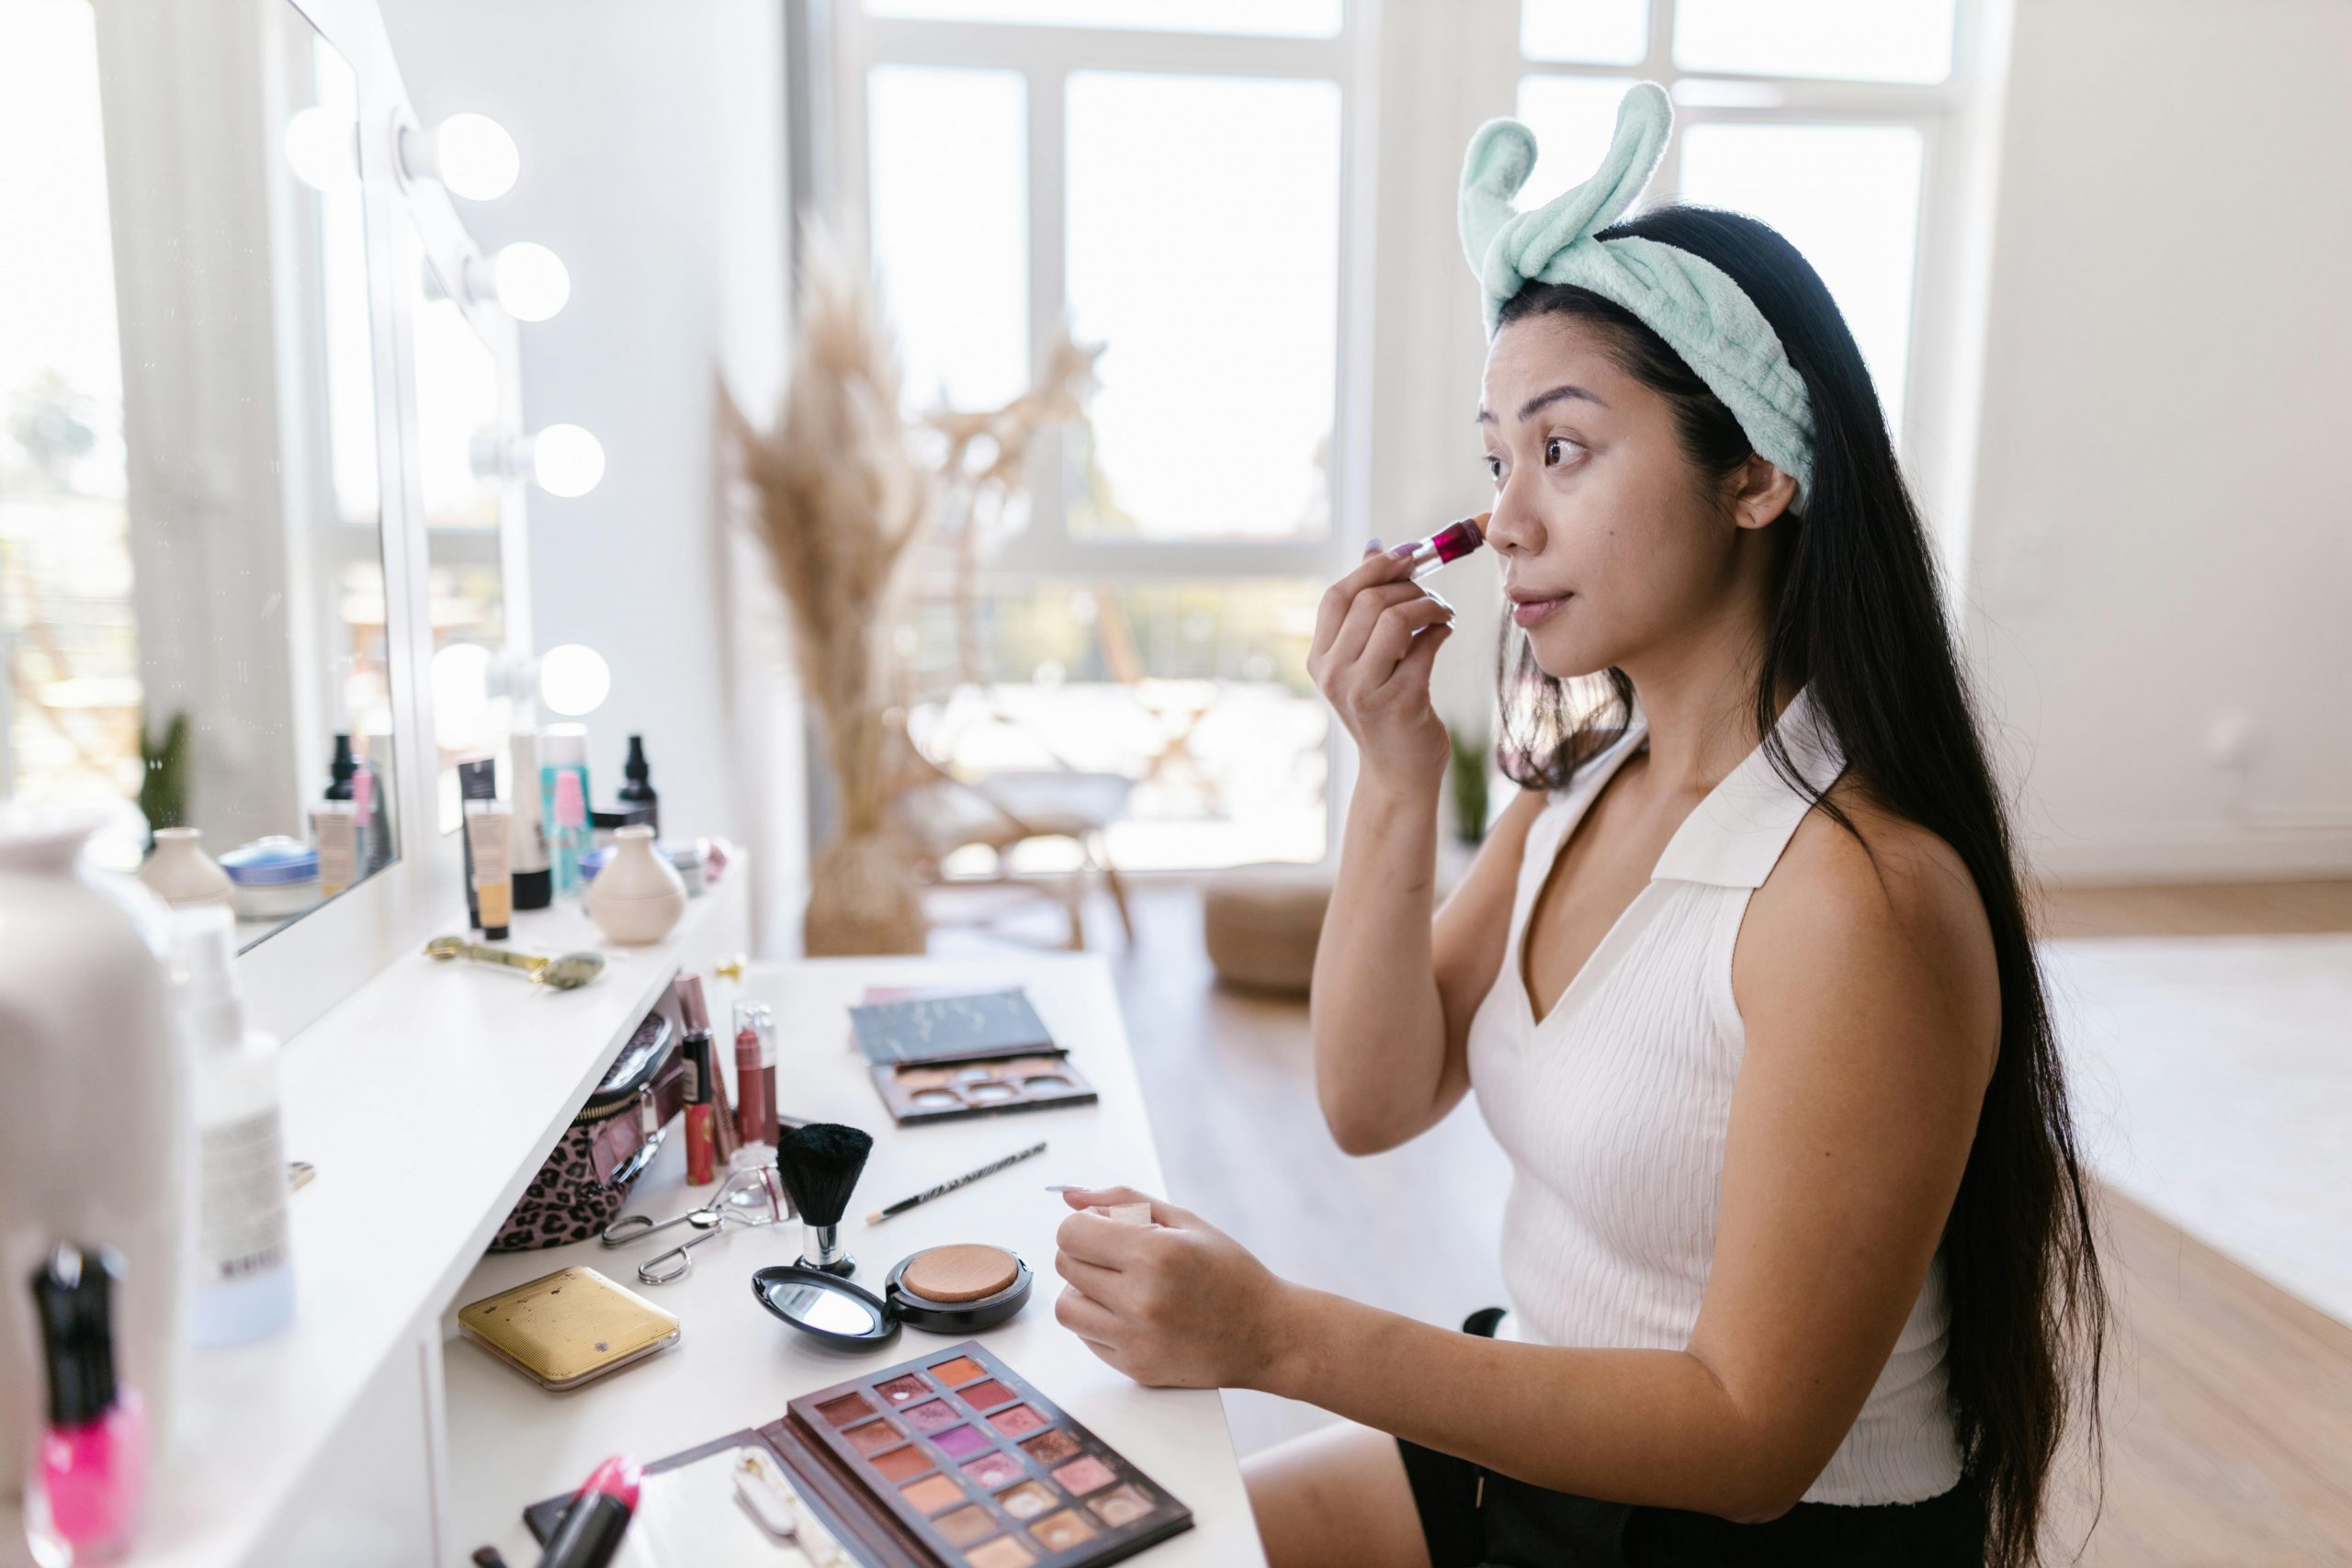
    Is there ever a time when you see someone with a foundation that’s a little bit off, too light, too dark, or just sitting on the skin like a mask? Let’s get real, no one wants to look that way, but we’ve all been guilty. Your foundation should never be the focal point before you are, but rather, bring out your natural beauty.

    But here’s the trick: knowing your skin’s special tone and undertone means you can choose the ideal foundation, not just a color that is close enough. Done correctly, your base will settle into your complexion and sheer into your skin to give you an amazing, luminous finish.

    How can one avoid the dreaded foundation failure, then? Let’s explore it and identify your ideal foundation.


    Know Your Skin Tone

    Your skin tone is the first hint to the riddle of your foundation match; think of it as the broad strokes of your natural complexion. There are four types of skin tones: light, medium, deep, and fair. The true game-changer, however, is undertones. They are the key component that decides whether a foundation appears as an evident layer or dissolves into your skin.


    Skin Tone Study Guide

    • Fair: The lightest of all; it frequently has a porcelain sheen, burns readily, and tans infrequently.
    • Light: A delicate pink or faint tan shade that is an improvement over fair.
    • Medium: Olive, tan, or warm skin that might be yellow or golden in tone.
    • Deep: Rich, black skin with deep purple undertones and red and blue.


    Find The Perfect Foundation Shade

    Choosing the wrong shade of foundation is like wearing shoes that are too small; it may be uncomfortable, noticeable, and ugly. Finding the exact shade that complements your skin tone and undertone is as important as finding a close enough match to get the ideal finish. Instead of acting as a mask on top of your natural complexion, a well-matched foundation should enhance it with a smooth mix. And keep in mind that if the shade is incorrect, even the best formula won’t work.

    Making the perfect choice might be overwhelming when so many options are available. You can check out a Korean foundation and choose one that matches your skin type. Korean products are renowned for their skin-like textures and extensive hue selections meant to accentuate rather than cover-up. Applying a bit on your wrist or jawline in natural light while evaluating hues will reveal your shade match if it blends into your skin.


    Determine the Best Level of Coverage

    The foundation comes in various coverage levels, from barely perceptible tints to formulas that create the ideal canvas; there is no one-size-fits-all solution. Your preferred finish and skin type will determine the best coverage for you. While medium to full-coverage foundations even out the complexion and cover for flaws, light-coverage foundations create a natural, weightless appearance.

    A matte, light-coverage foundation on oily skin can regulate oiliness without looking heavy on the skin. Dry skin is better suited for a medium-coverage, more hydrating composition that smoothes out the complexion. Knowing what your skin needs will help your foundation accentuate rather than cover up your inherent beauty.


    Select the Ideal Finish for Your Radiance

    Your entire makeup appearance relies significantly on the finish of your foundation. All finishes, from radiant to matte, enhance your skin differently. Matte foundations are ideal for oily skin since they may absorb extra shine and give your face a velvety, smooth texture. Since satin is adaptable, appears natural, and suits most skin types, it’s a fantastic choice if you’re having trouble choosing a finish.

    Dry skin is given moisture and a new, shiny appearance with a dewy or luminous base.

    If you want your makeup to endure, choose a finish that suits your skin type to keep it looking fresh all day. For a stress-free daily look, a satin finish foundation offers the ideal balance of brightness and coverage. Incorporating Bentonite into your skincare routine can also help create a smooth base by absorbing excess oil and refining your complexion before makeup application.


    Consult a Makeup Professional

    Finding the ideal foundation is challenging with all the various colors, undertones, and formulations available. See a professional makeup artist if you do not know what choice is best for you based on your skin type and desired effect. It can determine your skin tone, suggest the best products, and even provide application guidance to help you achieve your desired outcome.

    Wise investing in a foundation that enhances rather than conceals your natural beauty is assured with the guidance of professional consultation. Their experience can help you save time, money, and frustration, whether at a counter at a beauty shop, makeup salon, or e-chatter. They also can make you familiar with products and formulas you never would have considered, allowing you the confidence to achieve that image-perfect face.


    Tips for Applying a Perfect Finish

    The right application of foundation can be the difference between a smooth, natural finish and a cakey, bumpy texture. Enhancing the natural beauty of your skin while having your foundation remain intact all day is the goal. The following professional advice will help you get that picture-perfect, flawless look:


    • Apply with a brush or sponge; the tool makes the difference. A damp sponge enables liquid foundation to be smoothed on effortlessly, giving the illusion of a second skin. A dense foundation brush buffs streak-free and even for heavier coverage.
    • Less is more, so start off with a small amount. Apply just a little bit of foundation first, and gradually increase the coverage. This guarantees a natural appearance and avoids the dreaded cakey effect. To create an even colour, concentrate on the areas of need for more coverage, such as redness or blemishes, and work outwards to blend.
    • To keep on all day, prep your foundation with powder or setting spray. For oily skin in particular, a thin coat of translucent powder will cut shine. A setting spray fixes your foundation in position and gives you a dewy, long-lasting look without drying out your face, keeping it fresh and hydrated.


    Knowing your skin type, undertones, and the amount of coverage that makes you feel your best are all important factors in choosing the proper foundation, not just choosing a shade. You won’t again have to worry about the dreadful mask effect again after you master undertones and shade testing. Consider foundation to be the most important component of your makeup regimen; the more well it matches, the more seamlessly the rest of your look flows.

     

  • The Ultimate Guide to Using Blush Sticks for a Natural Glow

    The Ultimate Guide to Using Blush Sticks for a Natural Glow

    Do you wish your cheeks naturally glowed in a slight, rosy hue? Welcome, blush sticks: the best-kept trick for every makeup lover. This ultimate guide will take you through professional advice and insider secrets regarding blush sticks — all designed to help you achieve a beautiful, barely-there look that can transform your makeup routine.

    Choosing the Right Shade

    Picking the perfect shade of blush stick is essential to getting that natural-looking glow. While you can follow these easy guides on undertones to choose the right hue, it is also necessary that before adopting any shade in this colour section, you try to understand your skin tone, which will guide you to a more precise match. Undertone is the faint colour hiding just under your skin and impacts how colours look on you.

    If you have warm undertones, go for peach or coral colours. These colours give a warm, “sun-kissed” appearance that will play off of the natural golden or yellow tones in your skin. If you have cooler undertones, go for pinks or mauves. These colours compliment your skin’s blue or pink undertones for a more natural, glowing appearance. Neutral undertones — you lucky people! The ones I share with you are only a few examples, but depending on your skin tone and what might work for you, there are so many pink blushes, from softer shades to berry-toned hues, to choose from.

    Application Techniques

    Now that you’ve discovered your complexion’s ideal colour learn how to apply a blush stick. First, find out where you should place your blush. Applying it on the apples of your cheeks is still a traditional way. Dab some blush and smile to find the apples — apply on the roundest part of the cheek here—a placement that keeps it youthful, which makes you look younger.

    Blend the product towards your temples with your fingers or a makeup sponge. Use gentle patting motions to help the blush melt into your skin. This will avoid harsh lines and allow the blush to blend into itself down your cheeks rather seamlessly than from a definite colour source.

    This can also be used as a contour stick if you want a more chiselled look on your face! Sweep your blush just below your cheekbones and blend up towards the temples. This will contour different areas of your face and act as any other typical curve powder product. Remember how less is more; you can always start gently and work your way up if necessary instead of having too much on and then trying to take some off.

    Additional Tips and Tricks

    But we have a few additional tips for the new to the game (or those who want to elevate their game further). A great start is for contouring and highlighting. Use a darker shade for contouring and a lighter one for highlighting. Contour the contour shade beneath your cheekbones, blending up towards your temples. Highlight the high points of your face and bring backbone structure by sweeping a highlighting shade along cheekbones. Be sure to blend well; otherwise, you might soon see harsh lines removing the smoothness.

    If you are building up the intensity of your blush, apply a light layer and add more until the desired level is achieved. This technique allows you to adjust pigment intensity and achieve a nude, no-makeup look. Adding more colour gradually is better than trying to tone down an overpowering blush. Start with a light application and build up, if necessary to maintain control over the blush’s impact. This approach ensures a more natural and blended finish, giving you the flexibility to customise your look based on your preferences and the occasion.

    Refrain from making common mistakes, like overloading the product in one go. That can create an overdone appearance that is difficult to blend out. Rather than just scooping a bunch on, use the tiniest amount possible and then rub it in evenly to determine if you need more colour. Moreover, if you pick the wrong colour, your skin tone will not match naturally. Be sure to choose the shade that matches your undertones for harmony.

    Conclusion

    Overall, these are multi-use products that are simple to work with, making them worthwhile when spicing up your makeup game. The proper shade selection, application methods, and some of the expert tips we shared with you above will help give your skin a beautiful, radiant glow and enhance your already stunning natural beauty. Try it in a colour and application that is appealing to you. Whether aiming for something soft and natural or a contoured effect, it provides built-in ease when applying that juicy flush of colour on your cheeks. Are you prepared to get your glow on? Check it out now for more, and enjoy the natural beauty!


  • Makeup 101: How different colours neutralise blemishes and emphasise contours

    Makeup 101: How different colours neutralise blemishes and emphasise contours

    The basis of colour correction is using different colours to cancel out blemishes, thus giving you an even-appearing base. The types and levels of colours give out varying tones, which works to neutralise blemishes and emphasise natural contours.

    If you’re new to makeup this probably sounds like an overly confusing concept – but, in practice, it is surprisingly easy. This article will go through what different colours do for your skin, and how they achieve the desired results.

    Which colour does what?

    Essentially, the colour corrector you need depends on the tones you are looking to correct. In essence, it will be on the opposite side of the colour wheel. The most common colour correctors are:

    Green

    If you naturally have very red skin, green colour correctors will be perfect for you as it cancels out redness. You could use a green primer for your entire face if you suffer with generalised redness, or you could apply it using a small brush to specific areas before you go in with foundation.

    Orange

    You might have noticed that dark circles tend to have a blue undertone. Orange is the best colour for cancelling out the blue and providing an even base for concealer and foundation.

    Yellow

    For those of you who suffer with prominent veins, ultra-blue inner corners or perhaps if you have a greenish bruise, you’ll want to take some yellow to help create a more neutral base.

    Purple

    If you’re more prone to sallow, yellow skin then purple primers will work to brighten your skin and even out your overall complexion.

    How to use colour correctors to emphasise contours

    Being able to enhance your best features is easier than ever when using different colours to contour. The benefit of contouring is that you emphasise your natural features. For example, dark shades are used to create small shadows, which emphasise the natural bone structure that you have. Often, people use contouring to make their cheekbones or jawline appear more prominent, or to make their noses and foreheads seem smaller and smoother.

    Dark circle tips

    Use an orange shade and blend it under the eyes, all the way from the inner corner to the outer edge under the eyes. Next, take some concealer over the top of the colour corrector, paying particular attention to the dark shadow underneath. For best results, pick a concealer that is slightly lighter than your regular skin tone and blend well below the contour to give the illusion of vanished dark circles.

    Facelift trick

    Gently apply a darker shade of contour just beneath the hollows of the cheeks, making sure to blend well for a natural result.

    Next, take some of the same shade and, starting near your ear, blend all the way along your jawline on both sides.

    Finally, take the smallest angled brush you have and start right at the very top of your nose – the corner of your eyebrows is the best place to begin. Sculpt down your nose and then take a lighter shade along the bridge of your nose. Finish off by blending away the harsh lines and there you have it – an instant facelift.

    Now you know what different colours do for your skin and how they can achieve your desired results, have a try for yourself!